Omapodi or Sev is a popular snack at tea time. Oma in Tamil means Ajwain / carom seeds and Podi means bits …so its basically a snack flavoured with Carom seeds and crushed into little bits before consuming. Colloquially, this is also called “Ompodi“
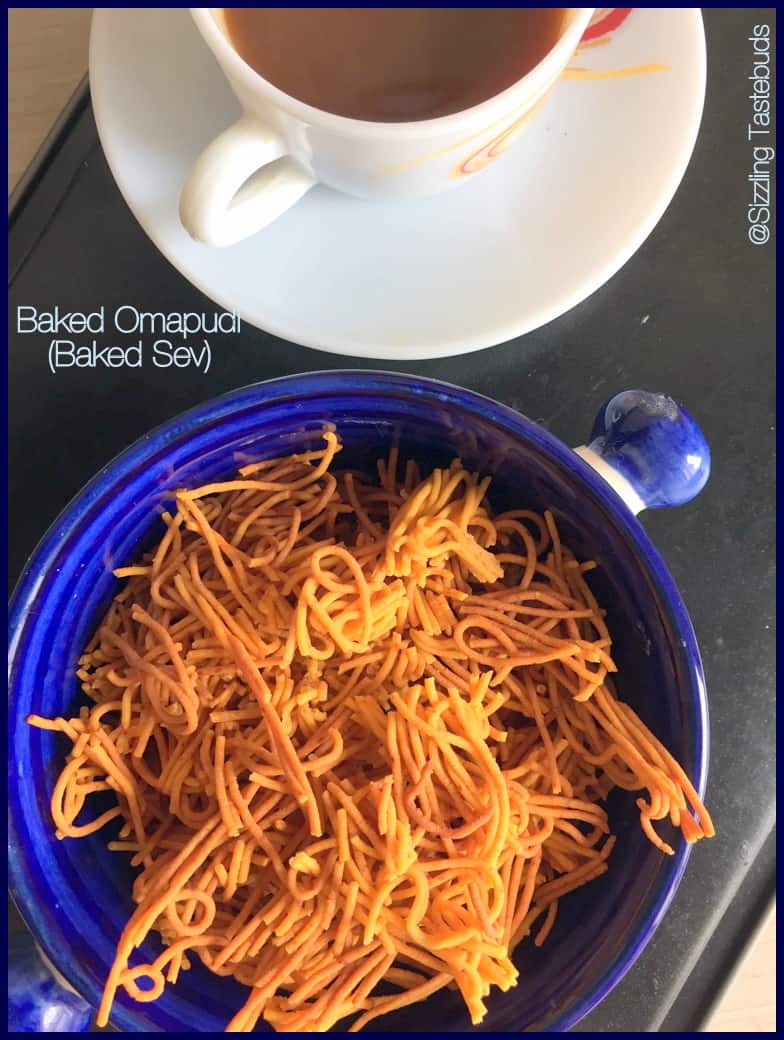
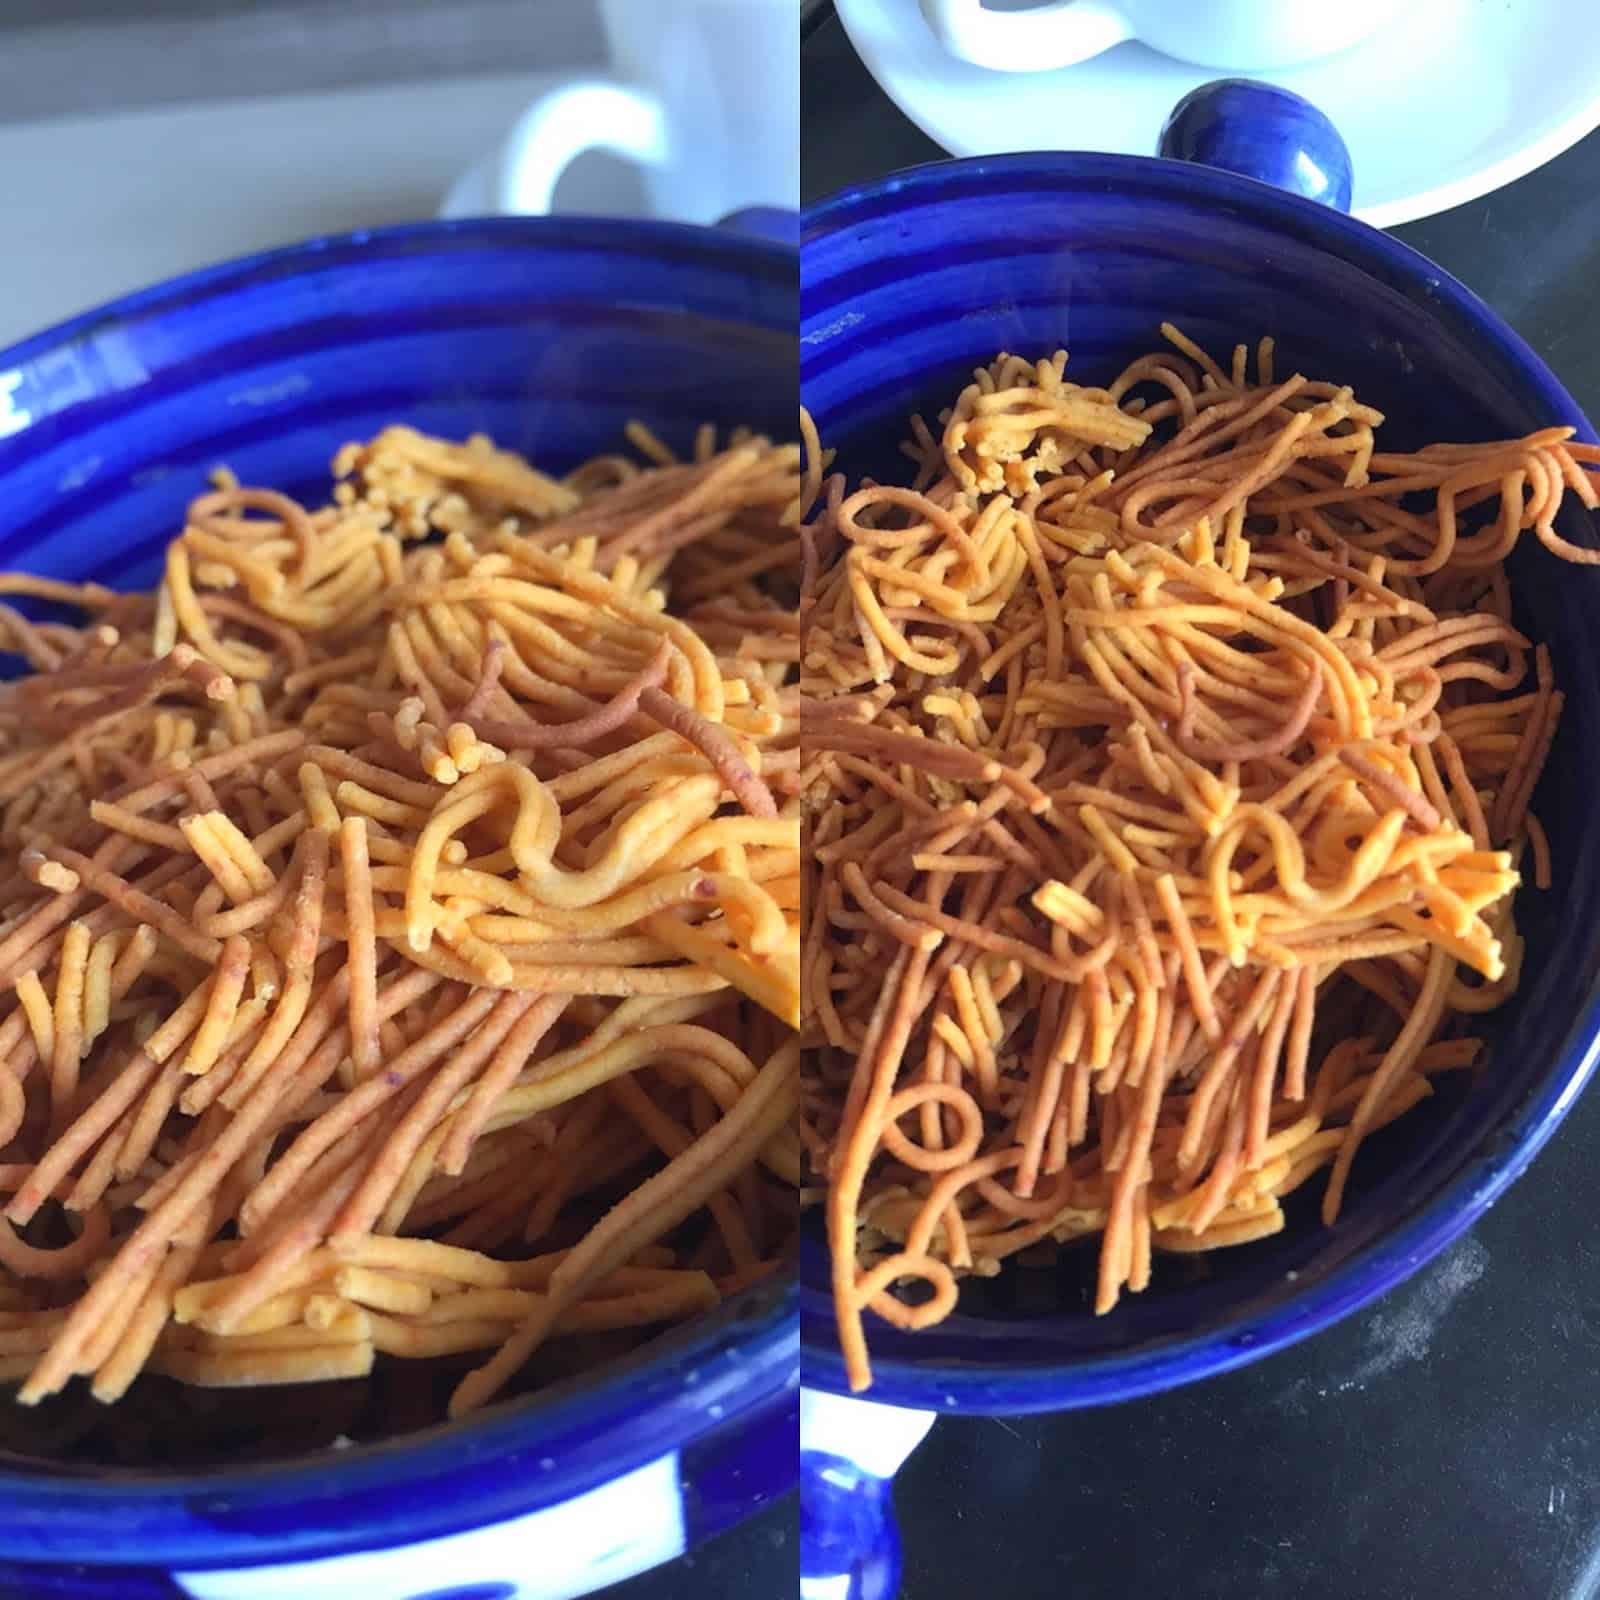
Also made for Diwali as part of the Bhakshanams (fried offerings) , this gram flour snack is highly addictive too. Although we do deep fry this, I wanted to bake this and test if it would taste as good, and it did !! As I was making this for the first time, I tried a small batch, but once you get a hang of the recipe, you can make large batches and store them in an airtight container.
It takes close monitoring on the baking temperature, and a little more attention while making the dough. But apart from that, its a breeze to make this in batches and munch on guilt-free snacks with a cup of tea / Coffee. Kids would also love to munch on this as a after-school snack.
As we enter the 3rd week of the Journey Through the Cuisines (JTTC) Mega Marathon, I hope you are enjoying this journey with all of us bloggers. Lets get to the recipe now.
Baked Omapodi | Baked GF and Vegan Savoury Snack |
Makes approx : 200 gm
Shelf life : upto a week without refrigeration
Adapted from : here
Prep time : 15 min, Bake time : 9-10 mins / batch
Ingredients:
- Gram flour / Besan / Kadalai Maavu / Kadale hittu- 1.25 cups (1 cup=200 ml)
- Rice flour – 1/4 cup
- Salt – to taste (approx 3/4 tsp)
- Omam / Ajwain / Omkaalu / Carom Seeds – 1 tsp
- Chilly powder – 1/2 tsp
- Cooking Oil (Any neutral oil) – 4 TBSP
Method:
- Sieve together the flours and salt. Mix well. Add in the red chilly powder and mix again.
- **Meanwhile soak the ajwain seeds in warm water for 10 mins. Grind them with the soaked water and strain them well, Add this water to the flour
- Heat the oil to smoking point and switch off the flame.Let it cool a bit , now add to the flour – ajwain mixture.
- Very gently, using a spoon if required (as the oil is hot), mix the ingredients well. Add 1 TBSP of additional water , at a time, and make into a stiff dough. I used about 1/4 cup of water more. This totally depends on the quality of the besan and rice flours
- Pinch a large roundel into your Omapodi maker (Ompodi press aka Naazhi) with the requisite mould (as shown in the pictures here) and squeeze out the sev onto prepared baking sheets.
- Let them air dry for 6-8 mins.
- Meanwhile preheat your oven to 165/170 Deg C.
- Bake them for 8-10 mins / batch and watch them carefully. Besan burns very fast, so you might need a couple of batches to confirm which temperature works best for your oven.
- Cool them on wire racks or on a large plate once done. break them gently and store in an airtight container.
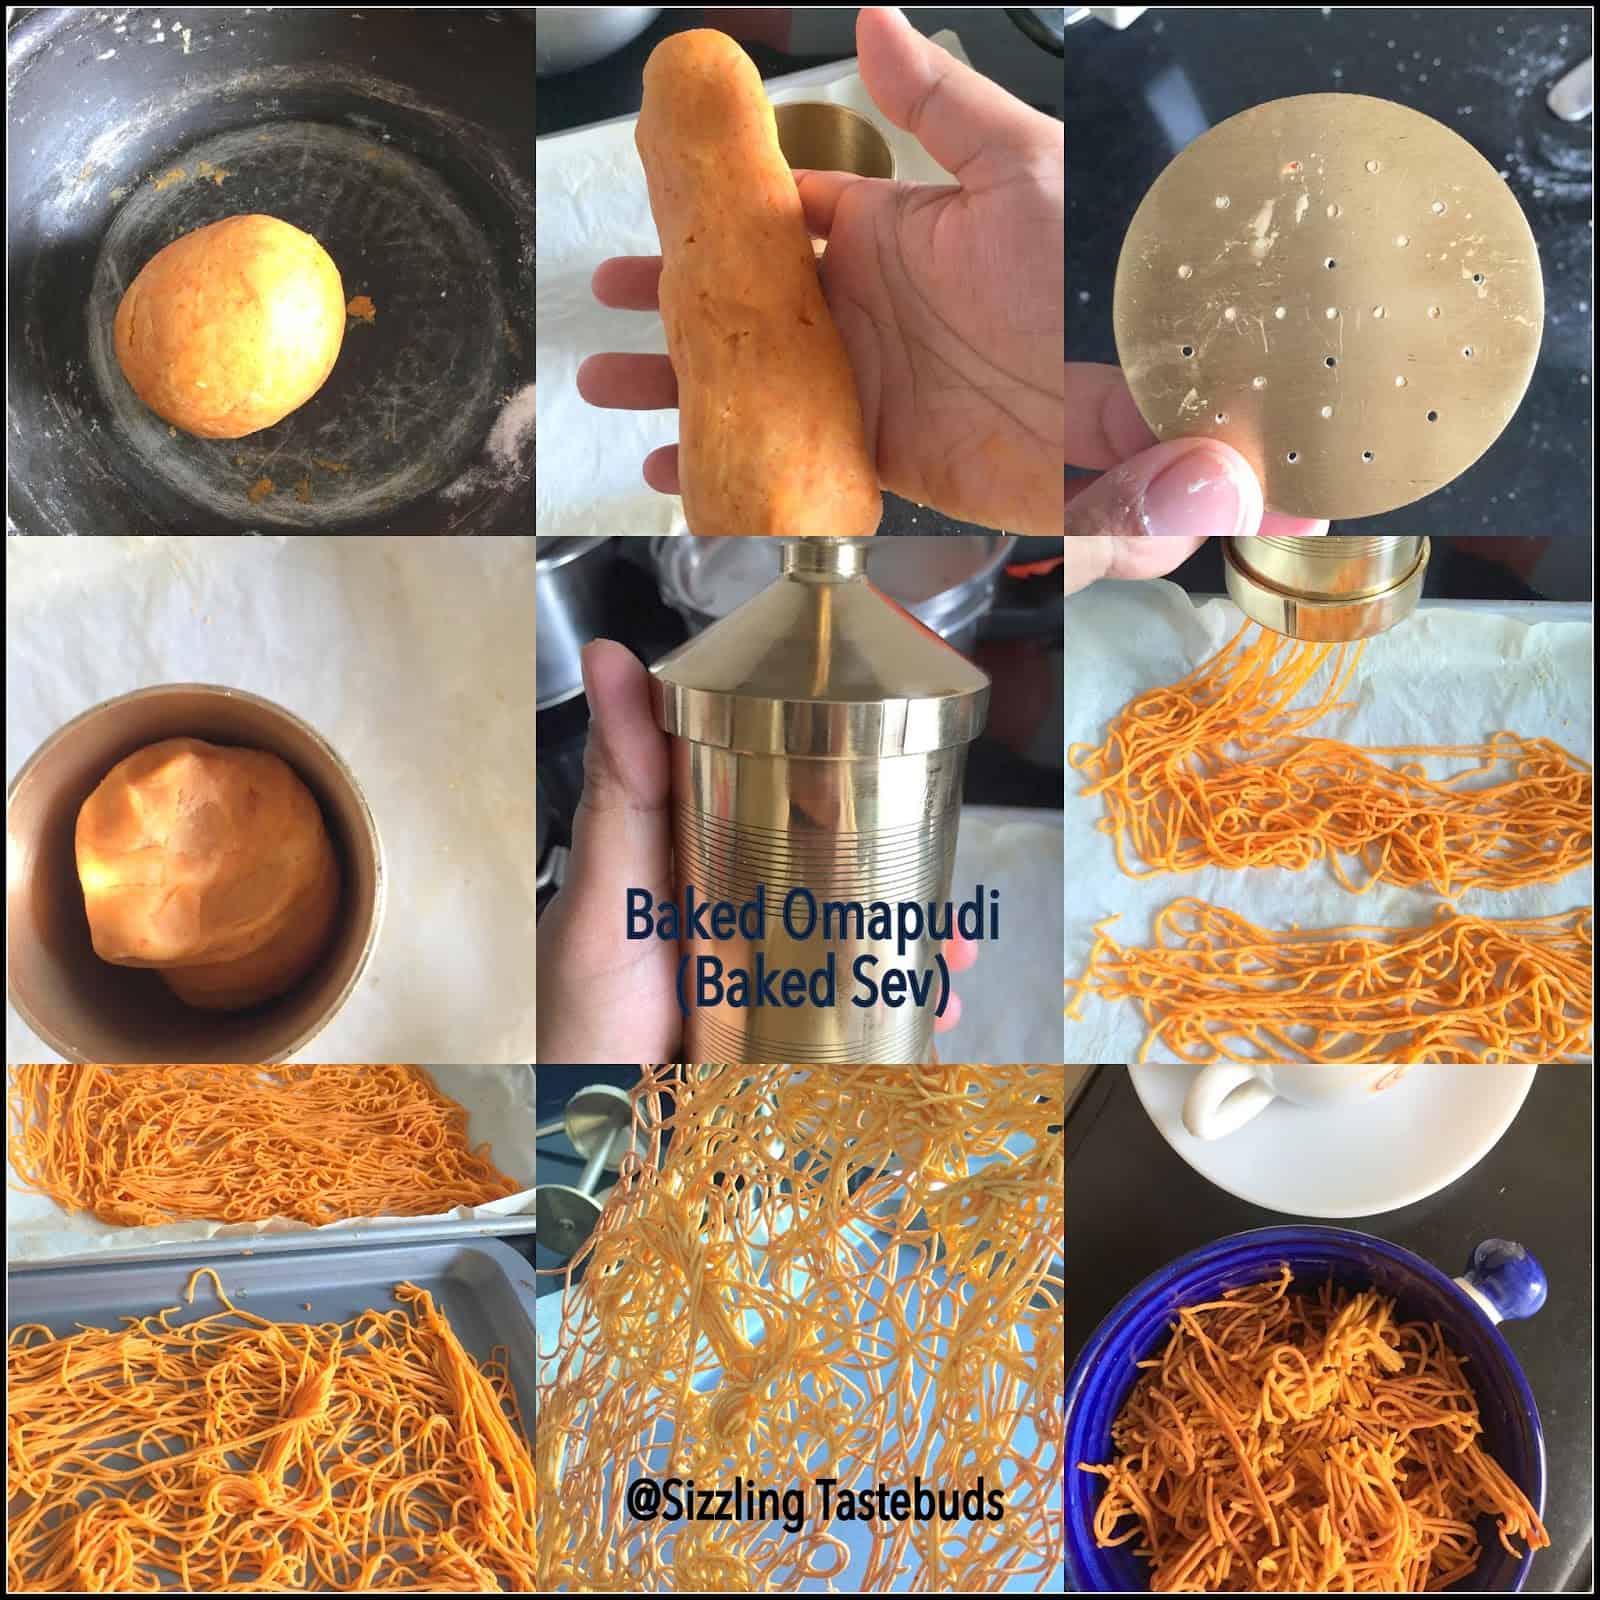
**You can soak the ajwain and grind as mentioned or even dry roast and powder them finely. Either way ensure that the ajwain in finely ground so it doesnt obstruct the dough when its squeezed out of the ompodi press

Check out the Blogging Marathon page for the other Blogging Marathoners doing BM# 63


Guilt free and baked version makes this treat more appealing.
Baked version is even more tempting.
Worth trying this for sure…good one..
I have never tried baking out traditional snacks like murukku and omapodi. Looking at the result, I am tempted to bake them next time..
Homemade crunchy sev ! Wow ! Looks crunchy and perfectly made.
Super like, hard to resist to this guilt free omapodi, well done and this baked version rocks.
Baked version of the omapodi is guilt free and addictive snack.
Baked version sounds very interesting and you have got perfectly.. Amazing 🙂
u got it right, so very right…i will be making these in may
Guilt free snack, Kalyani. Love it.
Guilt free snack. Love the baked version:)
What???? Those are baked!!!!! I can't believe it Kalyani — they look just like the real deep fried ones. I'm so going to trying this. Thanks for this guilt free recipe 🙂
I am a BIG fan of baked snacks. I love this version of sev Kalyani. Bookmarking the recipe to make it soon 🙂
Baked version looks wonderful and if you don't mention it, we would have not even guessed. I am going to try this soon!
what a tasty snack – perfect for munching!!!