Thin Poha Chivda or Patal pohyacha chivda (Thin Poha Chivda) was on my to-do list the moment I decided it was going to be Maharashtrian Region featured this week on BM. However, it kept slipping my mind to buy Thin Poha every time I went to the grocery store.
My elder one prefers to carry some light snacks along with some fruits for her short break so yesterday morning she asked me if there was chivda or Murukku (Chakli) to carry to school. If you like these kind of quick low oil snacks, why dont you check out the airfryer Roasted Makhana Chivda
And there it was : a great reminder to make them !! I made both of them.
Murukku will feature sometime soon, for now lets stick to Patal pohyacha chivda (Thin Poha Chivda)
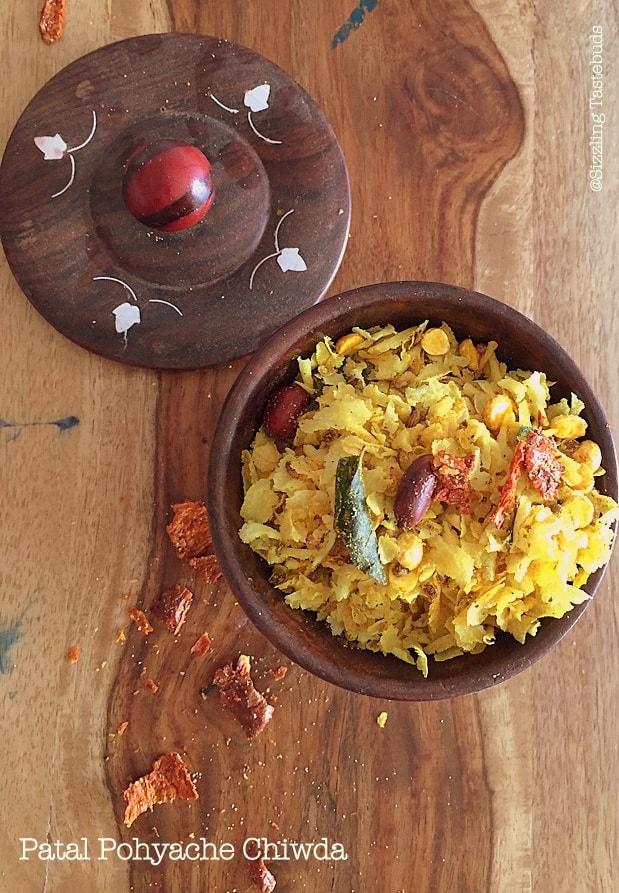
I have a Microwave version of Chivda (with Thick Poha) and a deep fried version too. But this version apparently made for Diwali by most Maharashtrian homes.
All 3 versions are perfect for anytime snacking and especially for monsoons 🙂
A book, a cup of tea and Chivda – a match made in heaven :-)) Sending this to my event + giveaway MonsoonMojo2 as well as BM 66
Hope you enjoyed this week’s series with Healthy Missal Pav and Dhadpe Pohe.
Garlic is also added to this, but I didnt have any and mom & me are not great fans of garlic, but if you love them, please do go ahead and add them.
Patal pohyacha chivda (Thin Poha Chivda) – Vegan & GF Maharashtrian snack made of pounded rice
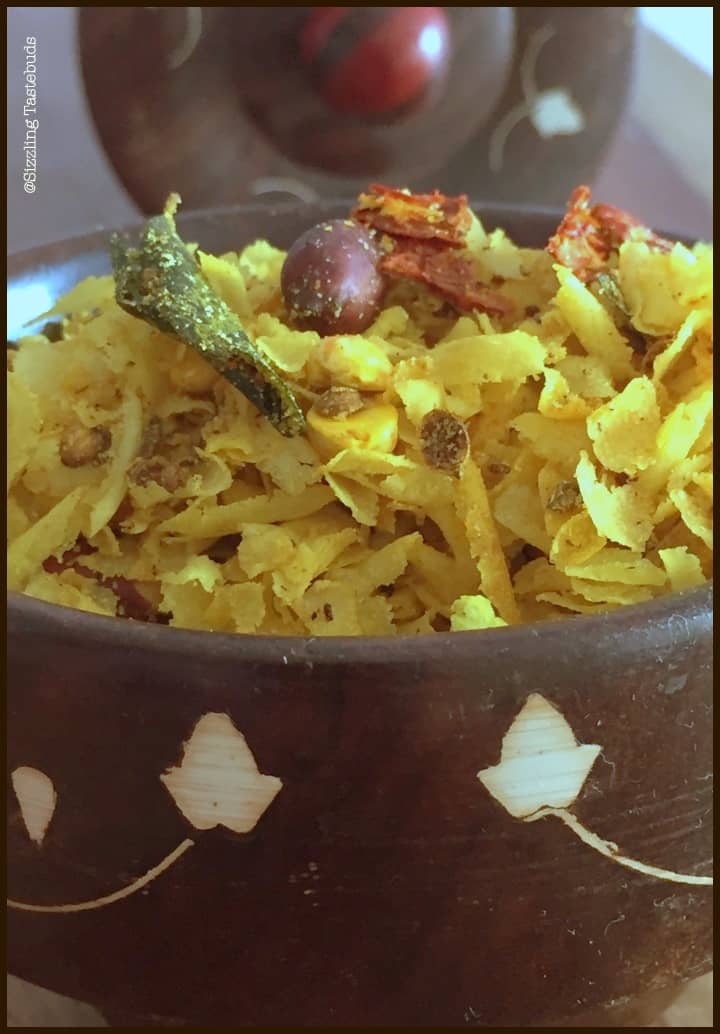
Prep time : 10 mins, Cook time : 10 mins, Makes : approx 200 gms of snack
Ingredients:
- Patla poha / Thin Poha / Nylon Poha – 1 cup (200 gms)
- Oil – 2 TBSP
- Salt – to taste
- Powdered Sugar – 1 TBSP
- Dry coriander seeds – 1/2 tsp
Tempering:
- Mustard seeds – 1 tsp
- Jeera / Cumin seeds – 1/2 tsp
- Hing / asafoetida – 1/8 tsp (opt.)
- Garlic – 3 pods (opt.) – I didnt add
- Dalia / fried gram / pottu kadalai – 1/4 cup
- Peanuts – 1/4 cup
- Curry leaves – few
- Turmeric – 1/2 tsp
- Red chilli powder – 1 tsp (adjust spice)
- Red chillies – broken into 1/3 – 2 to 3 (opt.)
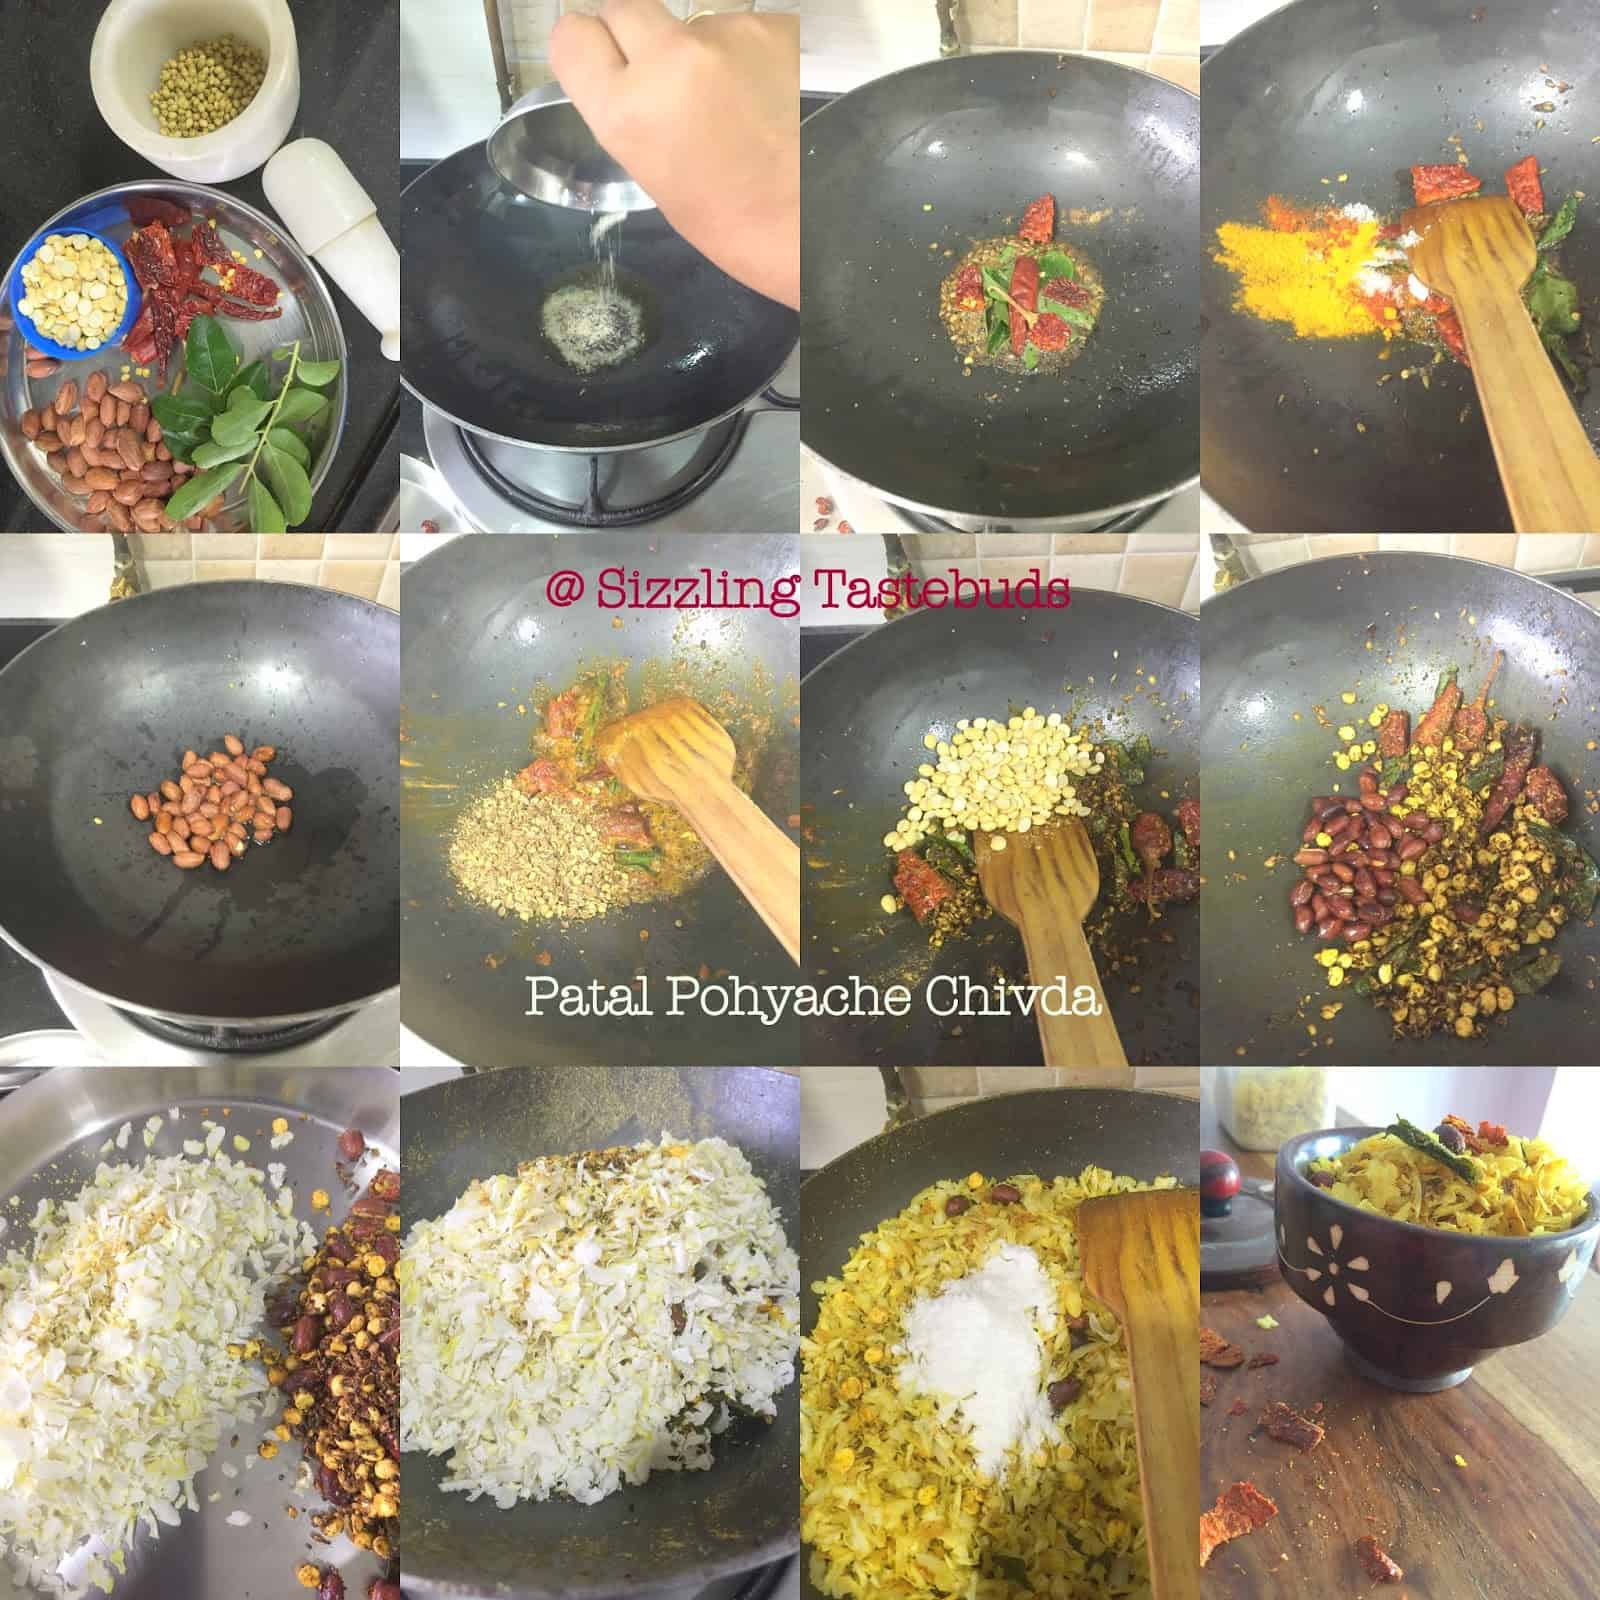
Method (step by step pics above)
- Dry roast coriander seeds in a pan, and pound them in a pestle-mortar to a coarse texture.
- In a pan, heat Oil, add all the temperings one by one. Add the crushed coriander and fry for 30 seconds to release aroma.
- If adding garlic, saute the garlic for 2-3 mins in oil before adding any other tempering till the raw smell disappears, and then proceed with above step.
- Once the peanuts roast well, turn off the stove.
- Add the thin poha in batches and mix thoroughly to ensure the tempering is uniformly mixed in. The poha should not be warmed at this stage else it will shrivel. Just ensure it turns warm and crispy.
- While still warm, add the powdered sugar and mix again.
- Store in airtight containers and serve.


Yea this is our favorite one too..and so easy to make..
Feel like finishing that bowl, chivda looks irresistible.
very easy to make chivda…
Yummy it looks. Never knew it was this simple to make 🙂
Easy n light snack…apt for summers
I cannot make this chivda on my own for nuts. Love the way you have made it.
How i missed blog hopping… love this chivda, its a staple in a maharashtrian home.
I make this almost every week for snacks. It is so simple to make and yet so yummy! Lovely pick for the theme!
Though I like it, I rarely make it as I am the only one eating. Yes, it does make a great snack for school and even after school.
I've not tried making poha chivda at home but love to snack on it. Like how you've used nylon poha and also the important tip of not warming the mixture once the Poha has been added.